Using a diffuser attachment on your blow dryer helps reduce frizz and enhance your natural texture, and it’s one of the most popular ways to dry curly and wavy hair. However, diffusing your hair can be intimidating (and confusing!) at first. That’s where Aveda Artists Chelsey Hildebrand (@chelseycurlchronicles) and Melissa Guido (@manesbymell) come in. Both Artists have curls to die for and expertise to share. They’re sharing their best advice for diffusing with us; watch Mell’s informative and entertaining video on diffusing for even more tips and tricks.
Aveda: What it mean to diffuse your hair? How is it different from blow drying?
Chelsey: Diffusing hair is a drying technique that uses a dryer attachment to "diffuse" the airflow; this cuts dry time, reduces frizz, adds volume, boosts your curl formation and gives longevity to your style. It allows you to dry your waves, curls and coils in a controlled environment and is more convenient than air drying.
Aveda: Which hair types respond best to diffusing?
Mell: Anyone whose hair has a wave or curl in it when their hair is soaking wet and moisturised with conditioner has the potential to have a natural textured hairstyle when styled correctly. I always say, “Where there’s frizz, there is curl,” because hair that is frizzy is actually curly/wavy hair that is parched and not properly cared for.
Chelsey: Everyone can diffuse their hair. For example, someone with straight or loosely wavy hair could use Texture Tonic before drying for a lived-in, beachy look.
Aveda: What should you do before you start diffusing?
Mell: The key to successfully drying your hair is making sure you’re using the right products. Curls typically don't magically dry frizz-free and flawless. Before drying, it’s important to make sure your product is worked in and all key components are met: prep, style, and finish.
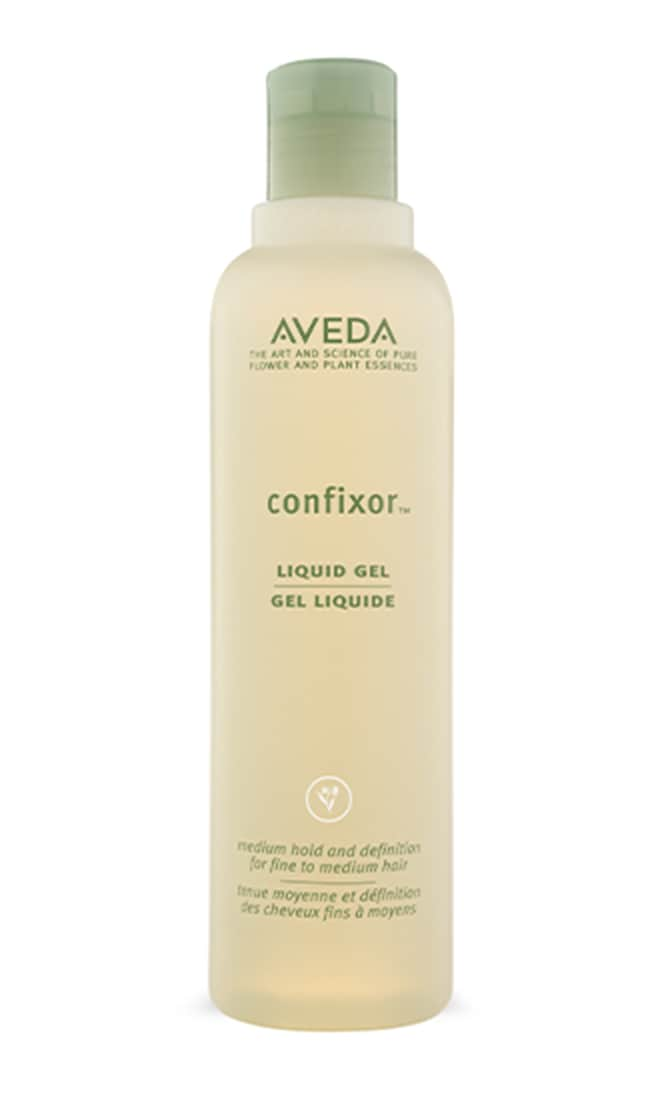
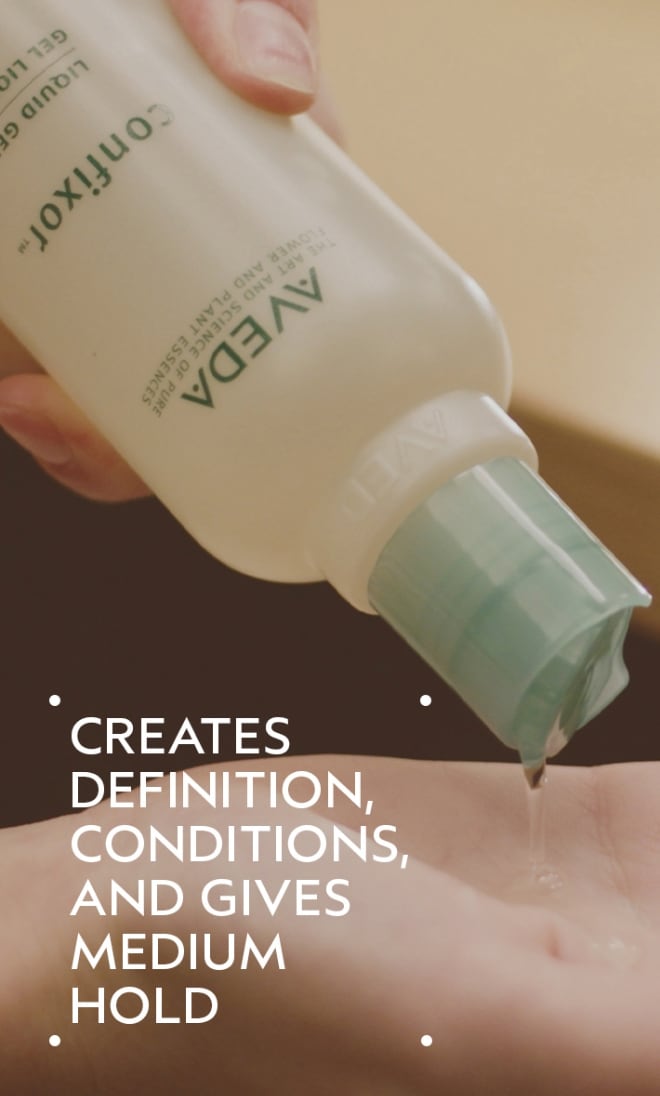
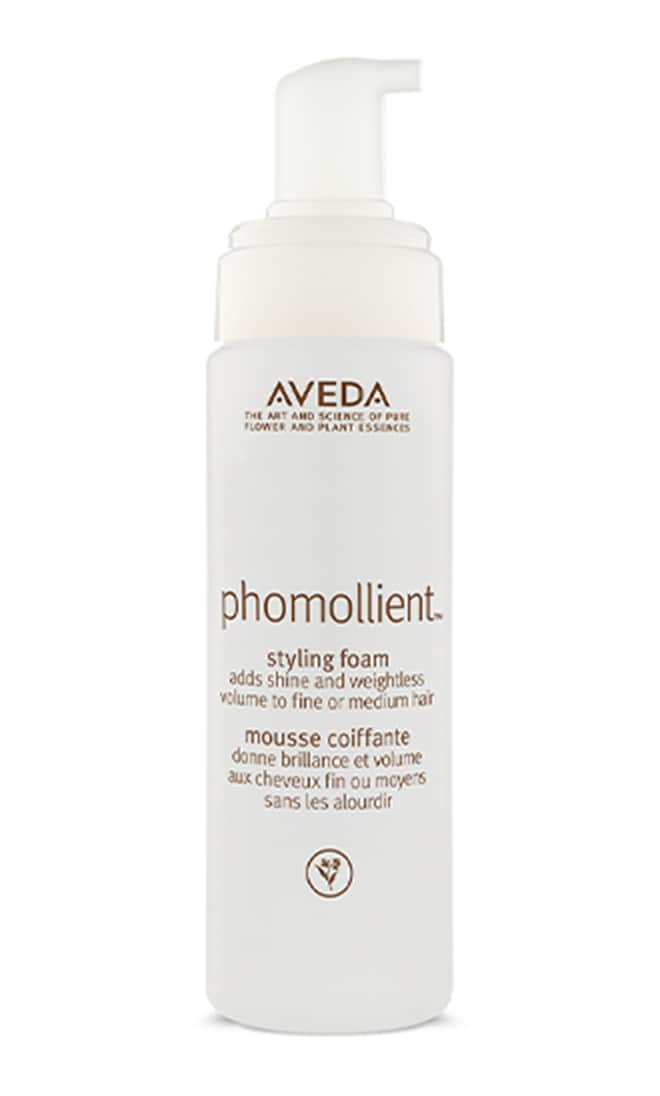
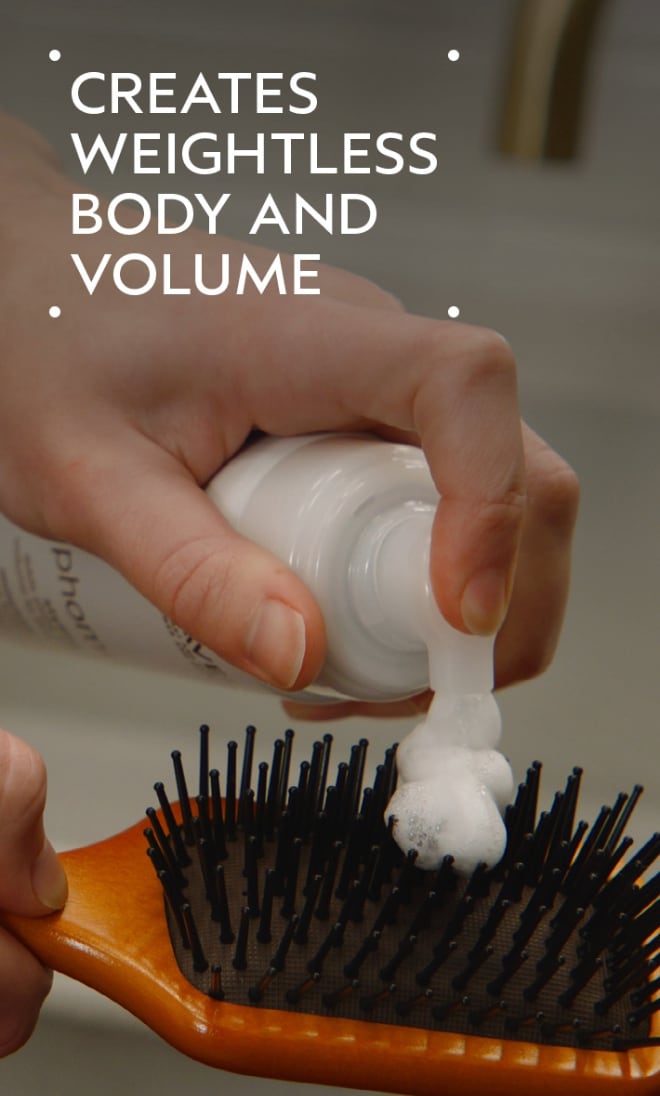
For a successful diffuse, I make sure to give hold to the curls so they have the fortitude to make it through drying. My favourite combo is Be Curly Curl Enhancer as a moisturising styler with Phomollient (for finer hair) or Confixor (for fine and medium hair) for hold.
The softer the curl pattern, the more important it is to use a product designed for hold. It’s more likely to frizz apart as it isn’t twisted into a ringlet like a tighter curl.
Making sure the curls already look good and defined when they're wet is key to seeing the same when they dry. Words to live by: "If it's frizzy when it's wet, it will be frizzy when it's dry."
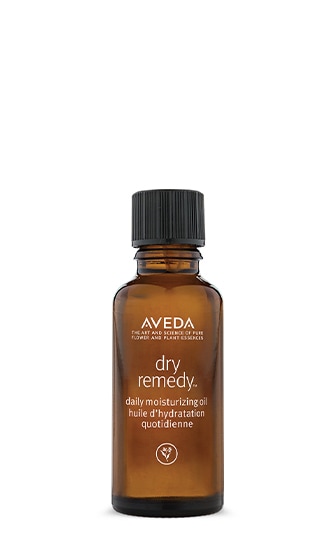
Chelsey: I’ve found that waves and curls tend to need more “hold” with gels and mousses, while coily hair tends to need more moisture, like creams and oils. Textured hair in general tends to be more dry, so I like to use Dry Remedy Daily Moisturizing Oil in the hair first to let it sink into the hair strands and moisturise the hair from the inside out. Then I apply a cream, followed by a hold product. I know I’m using enough gel when I hear a squishing noise when I scrunch it into my hair.
Aveda: Great! This is very helpful. What are your best tips for diffusing?
Mell: Since everyone's blow dryer and diffuser attachment is different, it's important to set the right speed. The point of the diffuser is to diffuse and soften the air flow so you don’t disturb the curl pattern. If your curls are being blown away, turn the speed down. High speed and heat will get the job done faster, but some people prefer results using a cooler air setting. It’s all about personal preference, so see what works best for you and your curls.
Do NOT touch the hair during the early stages of drying! The more you touch your hair, the less defined your waves or curls will be.
Chelsey: I like to finger coil curls before diffusing to create the curl formation I want.
Aveda: How does one actually diffuse their hair? How much should you be moving around?
Mell: Start your diffuse with your head flipped upside down and hover the diffuser around your roots first, as they take the longest to dry. This will also give them more volume and curl definition.
If you want more bounce, scrunch the hair strategically with the diffuser midway through diffusing. Allow curls to fall in place over the attachment and scrunch up to your head, then hold for 30 seconds to a minute and release. This will set the curls and cause them to shrink up more if desired. If you want a more relaxed natural curl, skip this step.
To achieve movement in your roots, gently shift the position of your head from upside down to leaning one side, then the other, then leaning back and forward again. I always say, "If they dry in one position the whole way, that's how they'll want to stay."
Chelsey: When you’re done with a section, be sure to turn off the diffuser before moving it. This guarantees there’s no rogue air flow that can disturb your curls.
Aveda: These are great tips. What do you do when your hair is fully dry? What if it feels crunchy?
Chelsey: If your hair feels crunchy when it’s fully dry, don’t panic! Just scrunch the crunch away. Start from the tips and move up towards the roots “pulsing” your hand to break the cast.
Diffusing the hair will soften some of the crunchy cast from your hold products, but if you wish to fluff them up a bit, I like to use a few drops of Dry Remedy Daily Moisturizing Oil or a pea size amount of Light Elements Smoothing Fluid to smooth out the hair.
For extra humid climates and frizz prevention, finish with a small amount of anti-humidity pomade, rubbed into the hands and smoothed over curls to finish. And voila — beautiful curls and waves.


